Contents
How to do Mix Bus Processing
You have put a lot of time into finalizing your mix and now you want a little something extra.. You may be wanting to listen how the end result will be like or you just want to give your mix the final touch or may be the whole mixing was done through this.
Mix bus processing is a technique to process the whole mix at one time as opposed to individual track processing.
This mix bus is simply a single channel that routes in all the individual instrument tracks and is just like a master channel, only without a limiter. Its also called as a master bus, 2 – bus or stereo bus.
So, how to process a mix bus?
The short answer is, to process a mix bus, you route your tracks into a single stereo mix bus and on it, apply effects like EQ, compressors, saturation, limiter, stereo enhancers etc. In this article we explore the mix bus process and some mix bus processing tips as well.
How you process the mix bus basically depends on the type of workflow. Different mix engineers use different workflows.
Before we start, let me introduce you to our –
Make sure to check it out.
Broadly these workflows can be categorized into three types and the type and amount of processing decisions comes out of these workflows.
So mix bus processing can be done –
- At the beginning of the mix session
- At the end of the mix session
- Without mix bus processing.
The best of the three is that which actually improves anything in the track and what you are comfortable with.
Don’t just do it for the sake of doing it.
Lets look at these different workflows –
Mix bus processing at the beginning of the mix
This approach is pretty common and you’ll see again and again that engineers use a mix bus that they apply effects on and then they mix through this set up.
They already have a template for this purpose and they pretty much always have presets of their choice. Working this way keeps creating consistent results.
And let me tell you the signature sound of a lot of engineers is because of this way of working.
They pretty much keep their settings consistent in every session they mix.
I can recall Andrew Scheps once talking about that he always has an EQ on his mix bus that has a dB or two raised at a 100 Hz.
Whatever he does, goes into this EQ and you will admit that this approach is really a good way of working if you want consistency and want to have your own signature sound.
So to quickly recap-
- Route all the individual tracks into a single stereo track.
- Apply the effects or plugins on it before you begin mixing the song.
- Select the effect settings of your choice or create your own.
- Make decisions for the individual tracks depending on how it sounds through the mix bus effects.
- This approach gives consistent results and helps defining your signature sound.
Now let’s see how the exact opposite approach works..
Mix Bus Processing at the end of the mix
This method is applied when you finish working on your session and now you want to further shape the tone, dynamics and stereo image of your overall mix.
In this method, as it’s self explanatory, you route the individual tracks to a single stereo bus after you are done mixing.
The effects and the amount of processing on the mix bus in this method depends entirely on how the entire mix sounds.
The direction of the tone in this method is not considered from the beginning. The engineers do know how their tracks should sound together though.
It’s not that this method doesn’t yield consistent results, but you may find that you’re performing more iterations as compared to the other one.
This is because you have already perfected your mix through the individual tracks and now you may be trying to give it an overall layer of characteristic and movement, basically trying to take it in a certain direction.
If that direction is fixed from the beginning, it makes the task easier. It leads all the individual tracks towards that direction.
- Usually some engineers also use this method just to make sure everything will sound as they want after mastering.
They apply the exact mastering moves to see if everything comes out as clear and as punchy as they intended in the first place.
So here’s a quick recap –
- In this method, you mix all the individual tracks.
- Create a stereo mix bus and route all your tracks into it.
- Apply the processing on the mix bus to effect the entire mix.
- The decisions for the effects on the mix bus will depend on the individual tracks.
- You may require more effort in this method.
No Mix bus processing
It’s not necessary to apply mix bus processing on your mix. It’s completely a free choice if that works for you.
The main reason why mix bus processing is applied is final shaping of the tone of the entire mix before sending it to the mastering engineer.
Mix bus processing is a “pre mastering” move. It can even be the final master if you will, as the last stage processing is done on the mix bus and you can do literally any amount of processing as far as mastering allows.
The only job that a mastering engineer thus left to do is to find any mistake if any exist and finally make the track louder.
When you apply no mix bus processing, the mastering engineer takes the responsibility of doing the same. He gets the entire mix into place and makes it sound perfect for listening on all the systems.
Remember that in this situation the signature sound will be applied as per the mastering engineer’s taste unless you instruct him what you want.
So to sum it up –
- No need to create a mix bus neither any final processing is done.
- The final tone of the master will be of mastering engineer’s taste unless you mention what you want.
Having known this, if you are planning for mix bus processing, you might be wondering how should the processing look like.
So here are little tips for you about the order of mix bus plugins chain..
Ideal mix bus processing chain
As soon as you are done with the mixing, you obviously need to now see the mix as a whole. Tone wise, you may find a little resonances or dips etc. in your finished mix.
This obviously means your first move should be to correct the tonal imbalances of these kind with an EQ.
Try to make very moderate cuts and boosts because you don’t want to disturb the instrument balance.
The cuts should be narrow and the boosts should be wide and very little within a dB. To cut the resonances, you can use a dynamic EQ such as FabFilter Pro Q3. It’s similar to a multiband compressor with precise control and full flexibility.
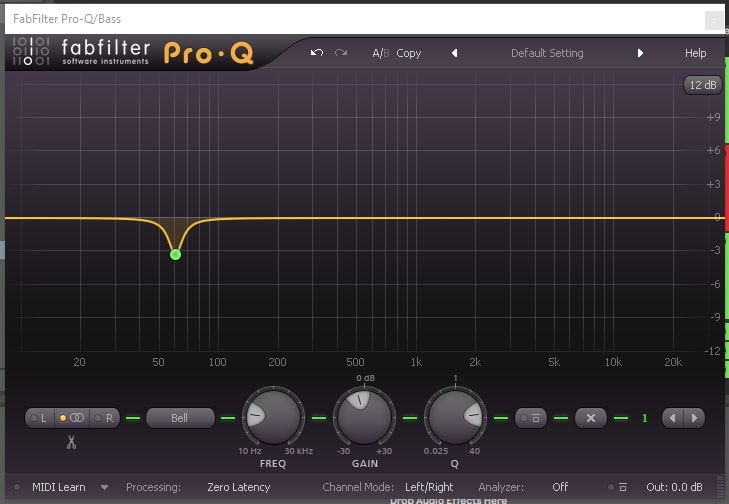
Resonance removal EQ
Next comes controlling or perhaps gelling the dynamics a little more. This is your final touch for a little extra glue for the entirety of the mix.
Keep the attacks medium and release medium. That should work well.
A multiband compressor like Waves C4 handles this job well as you will have more control over the entire track keeping the focus on the main instruments and vocals.
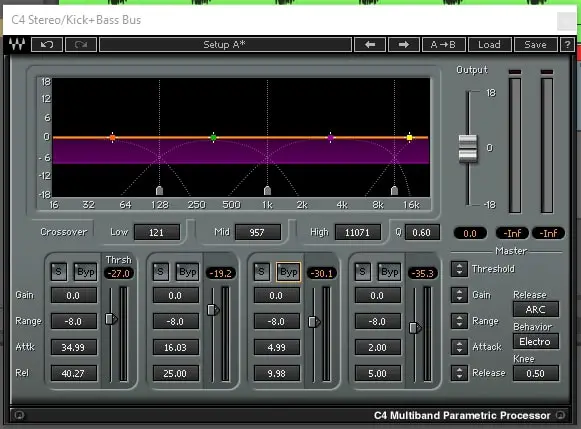
Multiband Compressor
You can select the bands which contain the most important sounds like the kick and bass, snare, vocals and hats.
You know your track well so you should choose your own bands which will be ofcourse somewhere around the above instruments.
After this you should be applying saturation to the whole track. A multiband saturation like the Izotope Ozone Exciter is a better choice for individual control over different bands. Use in moderation.
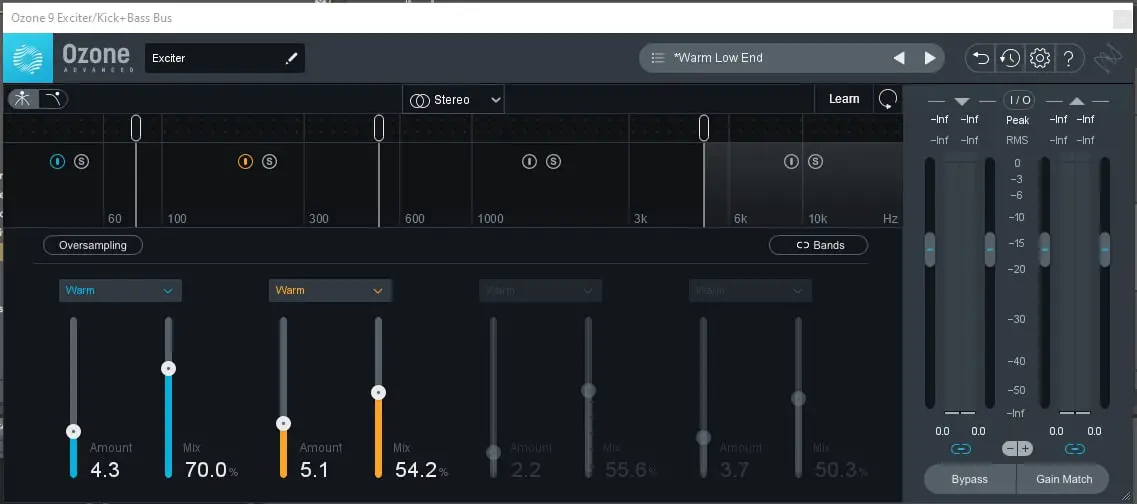
Izotope Ozone 9 Saturator/Exciter
Now it’s the turn for applying stereo enhancement. You can use the Izotope Ozone Imager. Increasing the width of your track a little more in the mix bus gives it a more immersive quality.
Remember to not overdo it as increasing the stereo image this way may lead to phase cancelation and may make sounds disappear from the mix.
After applying it, check the mono compatibility of your mix with a plugin like Utility in Ableton which can sum your stereo into mono.

Utility for Mono Compatibility
You can also check playing it through a single mono speaker to get a more reliable feedback.
Now if the sibilance are prominent, use a de-esser. Sibilance are the high frequency piercing sounds produced whenever there are words containing “S“.
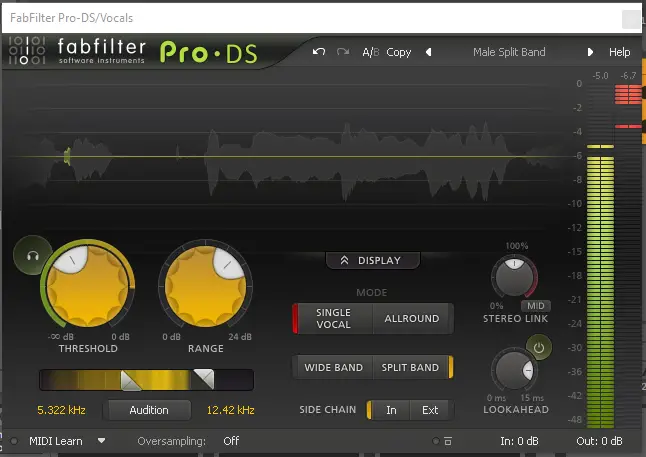
FabFilter Pro DS De esser
For instance – sit, sing, say, his, kiss etc.. They are also present in hi hats and similar percussions.
A final EQ may also be used to shape the mix a notch more if it’s required.
Now you know the effects that usually come in the mix bus processing and their order.
Note that this is not the only order of applying the effects on a mix bus. You can surely have them your way. Just experiment with whatever works!
And here is another tip..
Should you leave the effects On for the mastering engineer?
This question is very simple to answer. We saw how there are multiple approaches to handle mix bus processing and how the sound that a mix engineer wants to give to the entire mix depends on them.
If you are processed your entire mix for a particular sound, then keep the mix bus processing on and send that for mastering.
If you have processed the mix bus just to test the sound after mastering, make sure you remove them. Leave enough headroom for the mastering engineer to work with the mix.
The headroom of 6 dB to 8 dB is considered to be a good amount.
Conclusion
In my opinion, if you have a signature sound of yours and your clients or listeners like it, you should keep that consistent. That builds your unique identity. An easy method for this is to do mix bus processing always.
If you don’t find good result, you should leave this for the mastering engineer.
Mastering engineers generally are better at shaping the sound of the mix as a whole.
They have the vision, the experience and the skill to make decisions for your mix based on listening the entire song.
A little discussion with him about what you want is always better and it can also bring consistency and your own flavor into the master.
